At a glance
- Standard PNG and SVG exports do not require an account.
- A website QR stores a URL; a Wi-Fi or contact QR stores a different payload.
- Test the exported file and the final printed version, not only the preview.
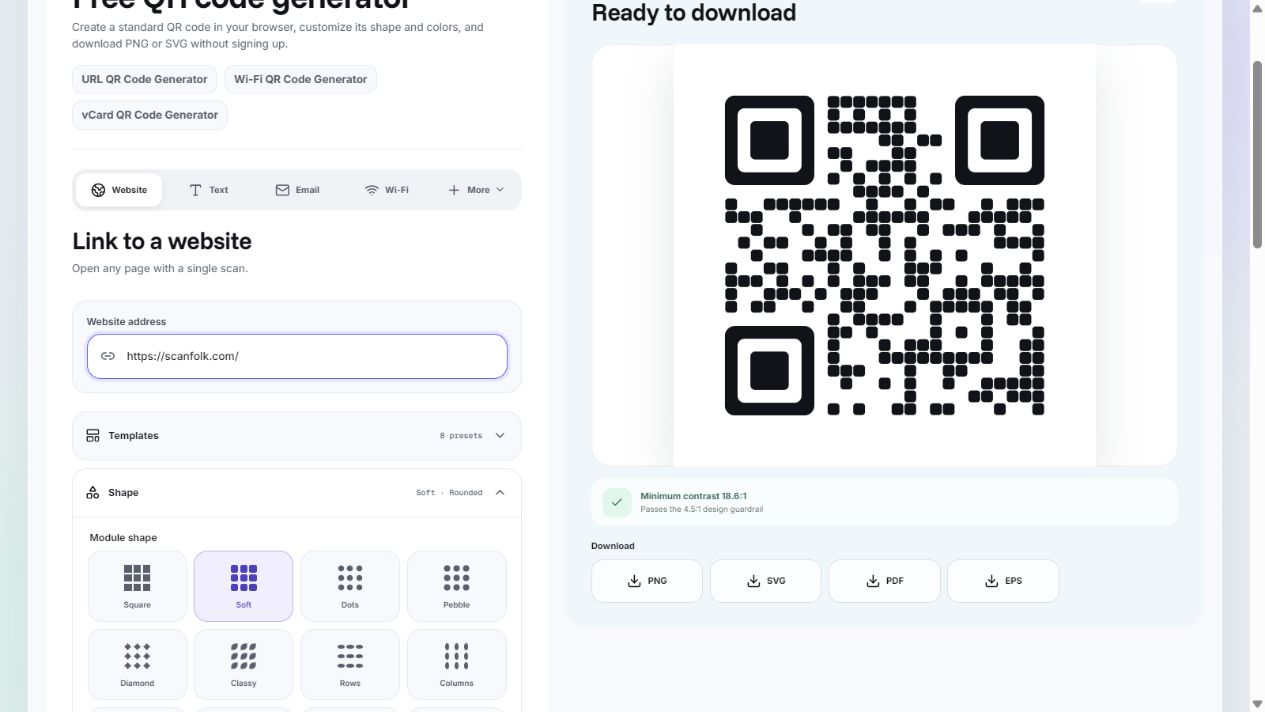
1. Choose what the scan should do
Open Standard and select Website for a link. Use the dedicated Wi-Fi, vCard, text, email, or other payload tool when you want the scanner to receive that content instead. A website QR needs an internet connection to open its destination; a plain-text QR can be read without loading a website.
2. Enter and check the destination
Paste the complete public URL, including https://. Open it separately and confirm that it reaches the page you intend to share. Avoid a temporary download URL or a page that only works while you are signed in.
For a direct QR, leave Scan tracking off. Turning it on uses a Scanfolk short link and records scan counts and times. Complete the creation and account flow before treating a tracking preview as a finished QR.
3. Customize with scanning in mind
Choose a shape and colors, then inspect the preview. Keep strong contrast and leave the clear border around the symbol intact. Conventional QR codes need a quiet zone four modules wide on every side, according to DENSO WAVE.
Adding a logo or decorative styling changes the scan conditions. A design guardrail in the editor does not replace testing on the phones and surfaces your audience will use. For an artistic direction, start with Creative templates and review the generated result before distributing it.
4. Download the finished file
Use PNG for a ready-to-place image or SVG when your layout software supports vector artwork. Preserve the QR proportions and border when placing it in a design. Save the file together with its destination so you can identify the correct version later.
For print, test the actual size, material, lighting, and scanning distance. There is no single print size that guarantees scanning for every payload and camera.
5. Scan before sharing
Open the exported image on another screen and scan it with a phone camera. Check both the decoded destination and the page that opens. Repeat with your final print or sticker, and ideally a second phone.
If the camera cannot read it, increase its displayed or printed size, restore contrast, remove decoration, and check the quiet zone. If the camera reads the QR but the website fails, fix the destination or redirect rather than regenerating the same broken link.
Sources and review
Reviewed by the Scanfolk editorial team on October 4, 2026. Interface examples were captured from the public Standard generator with a public Scanfolk URL. Technical references explain the quiet zone and the general redirect principle. Test your own finished QR in its intended setting.