At a glance
Create a business-card QR- A vCard carries the contact fields in the pattern; a website QR opens a page you maintain.
- Keep a readable name and contact method on the card as well as the QR.
- The layouts here are digital examples. Card sizes, finishes and physical scanning have not been qualified.
1. Decide what the scan should do
For a fixed contact, choose Contact (vCard) and enter only the details you intend to share publicly. The recipient's scanner may offer to save that contact, with a confirmation step. Phone, scanner and address-book behavior can differ.
For a portfolio, booking page or contact website, choose Website and paste its public URL. You can update the content at that address without changing the printed pattern. Moving to another address requires a new direct QR. A website needs connectivity; a vCard can be decoded without loading a website.
2. Enter fewer, useful details
Start with a name and the contact methods you actually use. Add a company or website when useful. More encoded text can make the symbol denser at the same printed width, so do not treat a fully populated vCard as a design requirement.
For a website, open the link outside your signed-in session and confirm that it shows the intended person or business. Avoid an editing address or a temporary invitation. Keep Scan tracking off for a direct QR generated in your browser; the optional tracking workflow uses an account and hosted redirect.
3. Give the QR its own space
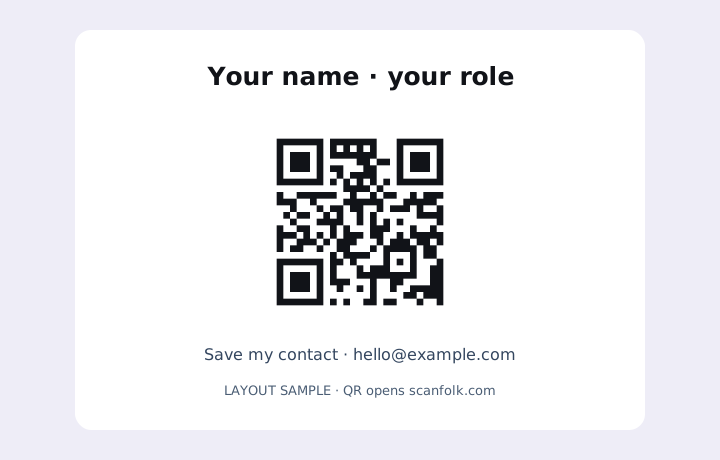
Keep the code away from the trim, folds and rounded corners. Put its action label next to it: “Save my contact” for a vCard or “View my portfolio” for a website. Keep a human-readable email or URL elsewhere on the card.
A conventional QR needs a clear quiet zone four modules wide on every side. Preserve that space in the layout rather than cropping the image to its dark squares. Texture, foil, embossing, glossy reflections and busy backgrounds change the camera's view; test the material you will actually order.
4. Customize, then export the finished code
Use dark modules on a plain light background. Change one setting at a time so you can identify what affects scanning. The live contrast guard is a design aid, not a guarantee that every printer or phone will work.
Use SVG if your layout software and printer accept it; keep the proportions intact. PNG can also work when its resolution is sufficient for the chosen size. Check the final production file after placement rather than relying only on the editor preview. Creative templates are another visual option; test the actual generated result in the same card workflow.
5. Check one real proof before the full order
Print at 100% on the intended stock and finish, or ask the printer for a proof. Record the actual QR width including its quiet zone, phone, scanner, lighting and distance. Test the front and back layouts you intend to distribute, rather than assuming one nominal card size proves all placements.
For a vCard, check the imported name, phone, email and website; decoding alone does not prove a correct import. For a website, confirm both the encoded address and the page it opens. Try a second phone if possible. If it struggles, increase the QR's area, simplify the payload and styling, or change its placement or finish.
No physical card test results are reported here. Digital illustrations explain the workflow and do not establish a minimum reliable size.
Keep the card useful over time
A direct QR has no Scanfolk expiry timer, but its encoded details stay fixed. Replace printed vCards when those details change. Keep a linked page and its domain available, and recheck it after changing a handle, hosting provider or redirect.
Store your QR export, card artwork, payload and proof notes together. If a new print batch changes the QR size, material or finish, check another proof.
Sources and review
Reviewed against Scanfolk's current Standard contact and website forms on October 16, 2026. Illustrations are digital; no physical card, finish or cross-device import matrix is claimed.